OBS Studio · Clips · Guides · Optimization
OBS Replay Buffer Settings: The Setup That Works
By Yaseen Khatib · October 23, 2026
The best OBS Replay Buffer settings are: set a 30–90 second buffer, use your recording encoder (NVENC if you have it), record to MKV, bind a Save Replay hotkey, and start the Replay Buffer before you go live. Open OBS Settings → Output, switch to Advanced, set the Replay Buffer length, confirm your Recording settings match your stream, then set Hotkeys for Save Replay and Start/Stop Replay Buffer. Test offline to make sure the file saves with game audio and mic.
OBS replay buffer settings, explained
Here’s the fast, reliable way to configure Replay Buffer so you never miss a clip on Twitch or YouTube.
- What it does: Replay Buffer keeps the last X seconds of your stream in memory. When you hit Save Replay, OBS writes those seconds to a file in your recording folder using your Recording settings.
- Why it matters: You don’t need to record the whole VOD. Just grab the hype moments without scrubbing a 6‑hour file later.
What Replay Buffer actually records
- It uses your Recording encoder, format, audio tracks and path. If your saved replays are missing mic or game sound, it’s because those tracks aren’t included in the Recording settings.
- Quality is whatever your Recording settings are. If you want small but clean clips for socials, tune Recording; Replay Buffer will follow.
Step-by-step: enable and dial it in
- Open OBS Settings.
- Go to Output.
- Switch Output Mode to Advanced (this exposes a dedicated Replay Buffer section/tab). If you prefer Simple mode, you can still enable Replay Buffer but detailed controls live in Advanced.
- Set the Replay Buffer length (in seconds). Start with 45–60 seconds.
- Open the Recording section and confirm:
- Recording Format is MKV (safer), with auto-remux to MP4 if you need .mp4 exports. There’s a checkbox for automatic remuxing in OBS settings.
- Encoder: use your GPU encoder (NVENC on NVIDIA) if available for low CPU, or use the same encoder you stream with. Keep resolution and FPS consistent with your stream.
- Audio tracks: tick the track(s) that include your mic and game audio.
- Apply.
- Go to Hotkeys and set:
- Save Replay (your clip button — bind it to a mouse side button or Stream Deck).
- Start Replay Buffer and Stop Replay Buffer (optional but handy).
- Back in the main window, click Start Replay Buffer (it’s a separate control from Start Recording and Start Streaming) or have it start automatically with your stream — look under Settings → Advanced for the option to start the replay buffer when streaming.
- Test: record a few seconds, say something, play a sound, hit Save Replay, then play the file. Confirm video + all audio you expect.
Recommended starting points (and why)
- Buffer length: 45–60s for shooters and fast games; 90–120s for variety/IRL where moments build slowly. Longer buffers mean more RAM use while the buffer runs and a larger saved file when you clip.
- Encoder: GPU (NVENC) if you have it — it’s light on the CPU and well supported. If you’re unsure, see NVENC vs x264 for streaming.
- Bitrate/quality: your Replay Buffer inherits your Recording quality. For clean clips without massive files, use a quality-based recording mode if you know how, or a reasonable CBR/CQP target. If you’re streaming at the Twitch cap, read OBS bitrate settings for Twitch.
- Format: MKV with auto-remux to MP4. MKV won’t corrupt if OBS or Windows crashes mid-stream; auto-remux gives you a platform-friendly .mp4 after the file is closed.
- Audio: route mic and game to the same recording track unless you need separate tracks for editing. If replays are silent, revisit your track checkboxes.
Hotkeys, Stream Deck, and safety checks
- Put Save Replay on a button you hit instinctively — mouse side button, keyboard near WASD, or a Stream Deck key mapped to OBS’s Save Replay action. The key is muscle memory.
- Add a small, unobtrusive on-screen indicator in OBS so you know the Replay Buffer is running (for example, a text source that you toggle with the same hotkey as Start/Stop Replay Buffer). You can also glance at the status bar; Save Replay is greyed out when the buffer isn’t running.
- Before every stream, do a 10-second dry run: start the buffer, make a noise, hit Save, confirm the file saved with correct audio. It takes 20 seconds and saves pain later.
Free automation options (no paid tools required)
- OBS itself: you can bind multiple keys or use a macro keyboard to fire Save Replay on cue.
- OBS Advanced Scene Switcher (plugin): if you already use it for macros, you can set timers or triggers that also press Save Replay via hotkey. The Advanced Scene Switcher guide has recipes.
- AutoHotkey: create a simple script to fire your Save Replay hotkey on a key combo or mouse gesture. Keep it lightweight and conflict-free.
If you prefer smarter “mark the moment” workflows after the stream — automatically finding hype spikes in VODs — see how to auto-clip Twitch highlights.
Free alternatives if you don’t want OBS handling replays
- NVIDIA Instant Replay: a driver-level rolling buffer that saves the last X minutes. It’s handy if you don’t need OBS-level control or separate audio tracks.
- Medal and similar clip tools: simple hotkey-based clipping with social features. Good for casual highlights, but you’ll give up some of OBS’s routing and quality control.
If you’re already live with OBS, keeping replay saves inside OBS is simpler — one encoder path, one set of audio tracks, one folder.
Troubleshooting: common gotchas
- Save Replay is greyed out: the Replay Buffer isn’t running. Click Start Replay Buffer (separate from Start Streaming/Recording), or enable the automatic start under Settings → Advanced.
- Replays save but there’s no mic/game audio: in Recording settings, ensure the track that contains your mic and game is checked for Recording, and that sources are routed to that track.
- Stutters or high CPU while the buffer runs: the buffer encodes continuously, so it costs about as much as recording does. Switch your Recording encoder to NVENC or a lighter preset, lower recording quality a notch, or tick "Use stream encoder" if your recording settings match your stream. A longer buffer costs RAM, not CPU.
- Files aren’t where you expect: Replay saves use your Recording path and filename pattern. Check the Recording path in Output settings and confirm write permissions to that folder.
- Replay length is wrong: the buffer only has what you kept running. If you start the buffer late, you can’t save earlier moments. Keep it on for the whole stream.
Automate saves from chat spikes (with streamerOS)
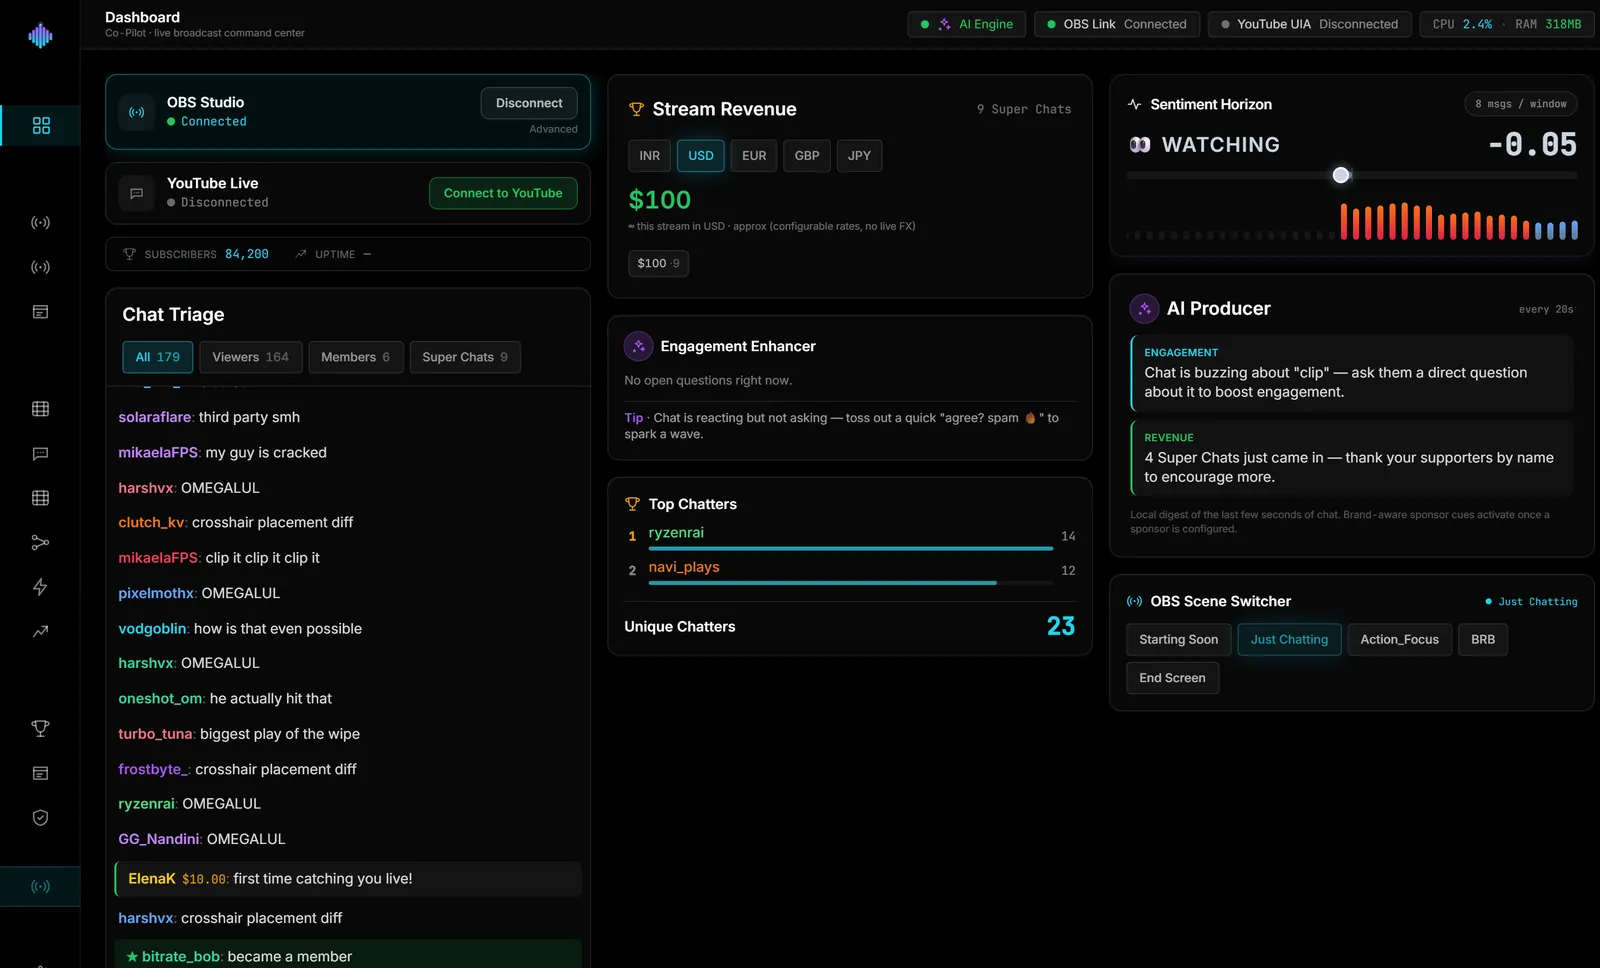
If you want “auto-clip when chat explodes,” streamerOS’s Auto-Hype Director can press Save Replay for you when chat velocity spikes or when a Super Chat crosses an amount you set. It runs locally on Windows 10/11, controls OBS on the same PC, reads chat but never posts to it, and costs $29 once after the trial. It launches in February 2027. Honest limits: Windows only, chat monitoring is read-only, and it saves replays using your existing OBS settings. Try the live demo in your browser — nothing to install — and pre-register to get the beta first as a founding member.
Related reading
Frequently Asked Questions
What’s a good Replay Buffer length for Twitch clips? 45–60 seconds covers most “whoa” moments in shooters and variety streams. If your moments build slowly, try 90–120 seconds. Longer buffers cost more RAM and produce larger files when saved.
Does Replay Buffer hurt stream performance? It costs about as much as recording, because it encodes continuously while it runs — saving a clip is just writing those seconds to disk. Use NVENC if you have it, or share the stream encoder, and keep recording quality reasonable.
Why are my replays silent (or missing mic/game)? Replay Buffer uses your Recording audio tracks. In Output → Recording, tick the track(s) that include your mic and game, and make sure your sources are routed to those tracks in the Audio mixer’s advanced properties.