OBS Studio · Performance · Twitch · YouTube
OBS dropping frames with good internet: real fixes
By Yaseen Khatib · November 5, 2026
If OBS is dropping frames with good internet, the cause is almost always on your PC (rendering or encoding lag) or your route/Wi‑Fi quality, not your speed test. Open OBS’s Stats window, watch which counter rises, then match your encoder and resolution to your GPU/CPU and, if it’s network, switch ingest/bitrate and go wired.
obs dropping frames with good internet
Here’s the fix order that works for everyone. We start with diagnosis that takes 60 seconds, then apply the right remedy so you don’t wreck quality you didn’t need to touch.
Step 1 — Identify which kind of “drops” you have
Open OBS’s Stats window while you’re live or doing a local test recording. Three numbers matter:
- Dropped frames (network): rising means packets aren’t making it to the platform. Speed tests can still look great; jitter/packet loss kills streams.
- Skipped/encoded frames (encoding lag): your encoder can’t keep up. Common when streaming 1080p60 on a busy CPU or using aggressive encoder options.
- Missed/rendered frames (render lag): the GPU can’t render the scene fast enough (common when a game saturates the GPU or you stack heavy browser sources).
Fix the one that’s rising first. If more than one is rising, address render lag, then encoding, then network.
If it’s encoding lag: make the encoder fit your hardware
Encoding lag means the encoder can’t output frames at your frame rate.
Do this, in order:
- Use your GPU’s hardware encoder
- On NVIDIA, switch to NVENC for streaming. It removes most CPU pressure and is visually strong at streaming bitrates. If you’re unsure when to choose NVENC vs x264, see our guide: NVENC vs x264 for Streaming: Which Encoder Should You Use?
- Right-size resolution and frame rate
- If you’re pushing 1080p60 and skipping frames, try 1080p30 or 720p60. Your audience will prefer a steady 30/60 over stutters.
- Dial back advanced encoder features
- Turn off extra-cost toggles like look-ahead and similar “extra analysis” options, and pick a moderate quality preset instead of the slowest or “max” one.
- Avoid CPU encoders on busy systems
- If you must use x264, pick a faster preset and expect to trade some detail for stability. If “Encoding Overloaded” appears, work through this: OBS 'Encoding Overloaded': What It Means and How to Fix It
- Keep scenes lean
- Browser sources and video filters add up. Pre-render static effects to a lightweight video file, trim unused filters, and deactivate sources in scenes you aren’t showing.
If it’s render lag: give the GPU some headroom
Render lag means the GPU can’t draw the scene at your target FPS before the encoder even sees it.
Try this, in order:
- Cap the game’s FPS or reduce a heavy graphics preset
- A hard cap (in-game limiter) frees GPU time for OBS. Going from uncapped 180 FPS to a consistent 120 or 90 often clears render lag instantly.
- Prefer Game Capture over Display/Window Capture
- Game Capture is the lightest path for full-screen games. Display capture can cost more GPU time, especially on multi-monitor high refresh setups.
- Tame heavy sources
- A few animated browser widgets are fine; a dozen can choke. Replace web widgets with lightweight media when possible. Turn off visibility for sources you don’t need mid-fight.
- Nudge OBS’s process priority
- Raising OBS by one notch helps keep its render thread on time. Don’t max it; just a small bump.
- Watch GPU usage, not just CPU
- If your GPU hovers at 95–100% in-game, lower a couple of killer settings (shadows, RT, post-processing) until usage leaves consistent headroom.
We chased a CPU hog angle in-depth here if you suspect a companion app causing trouble: OBS Dropped Frames: How I Found a CPU Hog That Wasn't OBS
If it’s network drops: good speed tests don’t prove a clean route
When “Dropped frames (network)” climbs but your speed test is fine, you’re fighting loss/jitter or a bad path to the ingest. Fix stability before bitrate.
- Go wired
- Ethernet beats Wi‑Fi every time. If Wi‑Fi is your only option, use 5 GHz near the router and avoid mesh hops.
- Change ingest
- Manually pick a nearby ingest with low load, or let OBS auto-select if you hard-picked a busy one. Different servers can behave very differently minute to minute.
- Enable dynamic bitrate and lower the ceiling
- Turn on the feature that lets OBS lower bitrate temporarily during congestion. Set a ceiling that your connection can hold even at busy hours. If you need concrete Twitch numbers and trade-offs, start here: OBS Bitrate Settings for Twitch: What to Use in 2026
- Close background network users
- Pause game updates, cloud sync, and downloads on any device sharing your connection. One Steam update on a console can ruin your upstream.
- Ping for loss/jitter during a test
- While streaming a test, run continuous pings to your router and to your platform’s ingest/edge. Even occasional spikes or 1–2% loss can produce visible drops. Free tools like WinMTR or your OS’s ping utility are fine.
- Router QoS/Bufferbloat
- If your router supports fair-queue or “smart queue” QoS, enable it and set upload slightly below your real max. That keeps spikes from filling buffers and starving your stream.
The quick preset that “just works” on most PCs
If you want a safe baseline to test stability before fine-tuning:
- Encoder: your GPU’s hardware encoder
- Resolution/Frame rate: 1080p30 or 720p60
- Bitrate: conservative for your platform; don’t max the cap on day one
- Advanced encoder toggles: off
- Scenes: keep preview clean during tests; use Game Capture
If the Stats window stays green across all three counters for 10 minutes of gameplay, raise either resolution or bitrate—not both at once.
Free tools to verify the fix
- OBS Stats and Logs: the source of truth for which counter is failing.
- Windows Task Manager: watch GPU 3D and Video Encode engines; keep headroom.
- Your OS ping/trace or WinMTR: confirm packet loss/jitter while you stream.
How streamerOS fits in here (one honest minute)
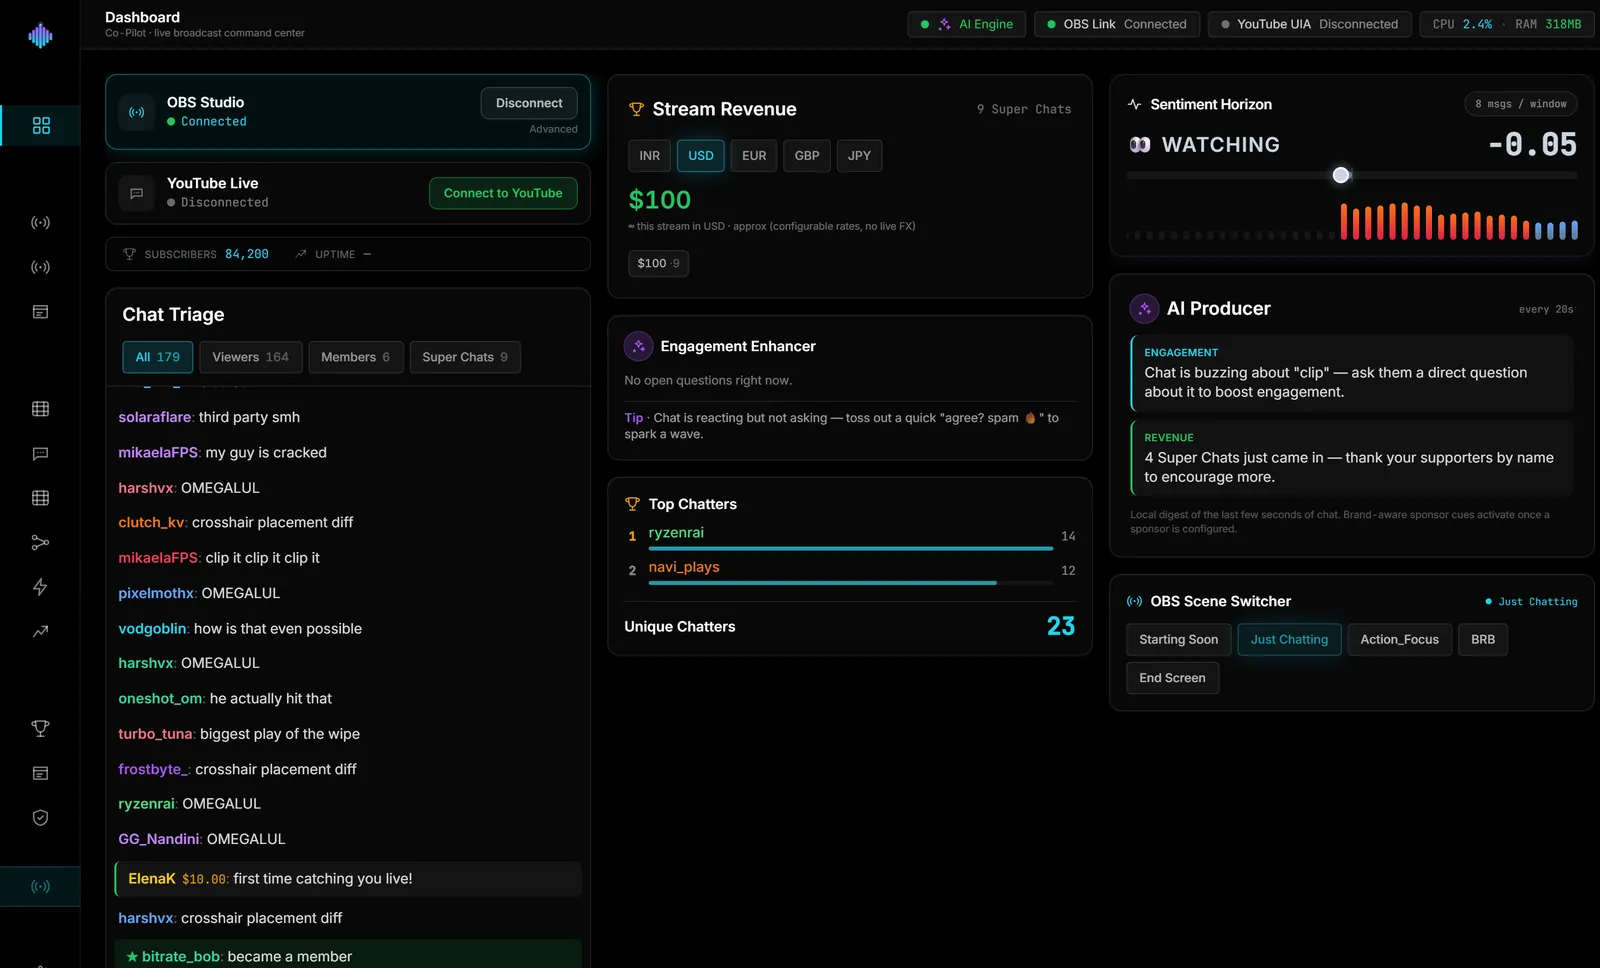
streamerOS keeps overhead tiny while you automate and monitor, so you don’t add new causes of render/encoding lag while fixing them. It runs alongside OBS on Windows 10/11, controls OBS locally over WebSocket, reads chat locally (it reads chat but never posts to it), and is engineered to sit around 1.8% CPU for the cockpit and automation. That helps you keep GPU/CPU headroom for the encoder and avoid browser-based add-ons that spike usage at the worst moment. Honest limits: Windows only, $29 once after the trial, and it launches in February 2027. See it in the live demo (https://demo.streamerosai.com). Founding members—anyone who pre-registers at pre-register before launch—get the beta first.
A test flow you can run in 10 minutes
- Start a private or unlisted stream; open OBS Stats.
- Play like normal for 5 minutes. Note which counter rises.
- Apply the matching fix list above. Change one thing. Test again for 2–3 minutes.
- When green, raise only one parameter (bitrate or resolution) and test again.
That small loop is faster than guessing, and it gets you to a stable baseline you can trust on show night.
Frequently Asked Questions
Why is OBS dropping frames but my internet is fine? A clean speed test doesn’t measure route quality or jitter. OBS may report network drops from packet loss, or it may be encoding/rendering lag on your PC. Use the OBS Stats window to see which counter rises, then fix that path.
Should I stream on Wi‑Fi? Use wired Ethernet if you can. If you must use Wi‑Fi, pick 5 GHz, keep the PC close to the router, and avoid mesh hops or congested channels. Lower your bitrate a bit and enable dynamic bitrate for damage control.
What bitrate should I use to avoid drops on Twitch? Start conservatively so dynamic bitrate has room to breathe, then raise after a stable test. Don’t run at the absolute cap on day one; see our Twitch-focused bitrate guidance linked above for trade-offs by resolution and FPS.